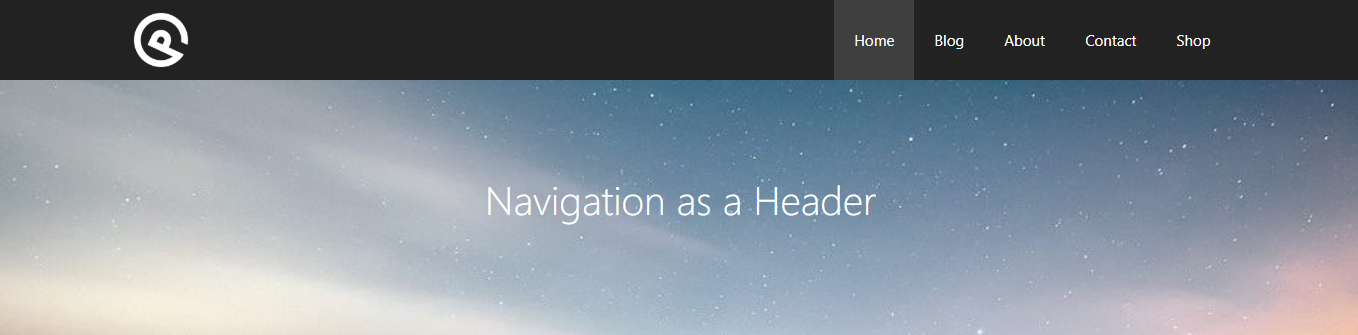
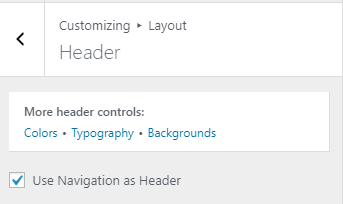
Using navigation as a header as seen above is one of the most popular and requested layouts currently. Starting in GP Premium 1.8, you can find this option under Layout > Header:
Basic
- Make sure there is a site title or/and a logo in added Site Identity.
- Check to activate Use Navigation as Header option above.
- Adjust the logo and navigation height by changing the Menu Item Height.
Sticky Navigation with Height Transition
To create transition effect above, first you need to complete the Basic steps above, then follow the additional steps below:
- Set Sticky Navigation to Desktop only or Both.
- Set Transition to None.
- Set Sticky Navigation Height to a number smaller than step 3 above.
Merge with Header Elements

We also have the option to merge the header navigation with a page hero in our Header Element as seen above. Follow the Basic steps first, then the Height Transition steps if it’s desired, then we are ready to merge with the options detailed in the Transparent Header and Navigation article.
Different Logo and Navigation Colors

If you want to use a different logo and navigation colors to match a specific page hero, you can do so by uploading the logo in Navigation Logo and change the Navigation Colors under the Site Header tab for that specific page hero.
Adding the Site Tagline
The site tagline is removed by default when this option is activated as there typically isn’t enough space for it. However, you can add it back in using this PHP snippet:
add_filter( 'generate_site_title_output', function( $output ) {
    $tagline = '<div class="site-description">Your tagline here</div>';

    return $output . $tagline;
} );