The Header element replaces our old Page Header module. This element has most of the same options as the old Page Headers. If you need help migrating from your old Page Header, see this article.
For a step by step guideline of creating a page hero, please see this article.
To create a new Header Element, go to Appearance > Elements and click “Add New”. From the Element dropdown list, choose “Header”.
Content
Content is required if you want to use the background image option below.
The content box accepts any HTML (headings, paragraphs etc.), shortcodes (slider, contact forms etc.) or template tags.
If you only want to use the background image without adding any content, simply add some HTML comments:
<!--This is a comment.-->Page Hero
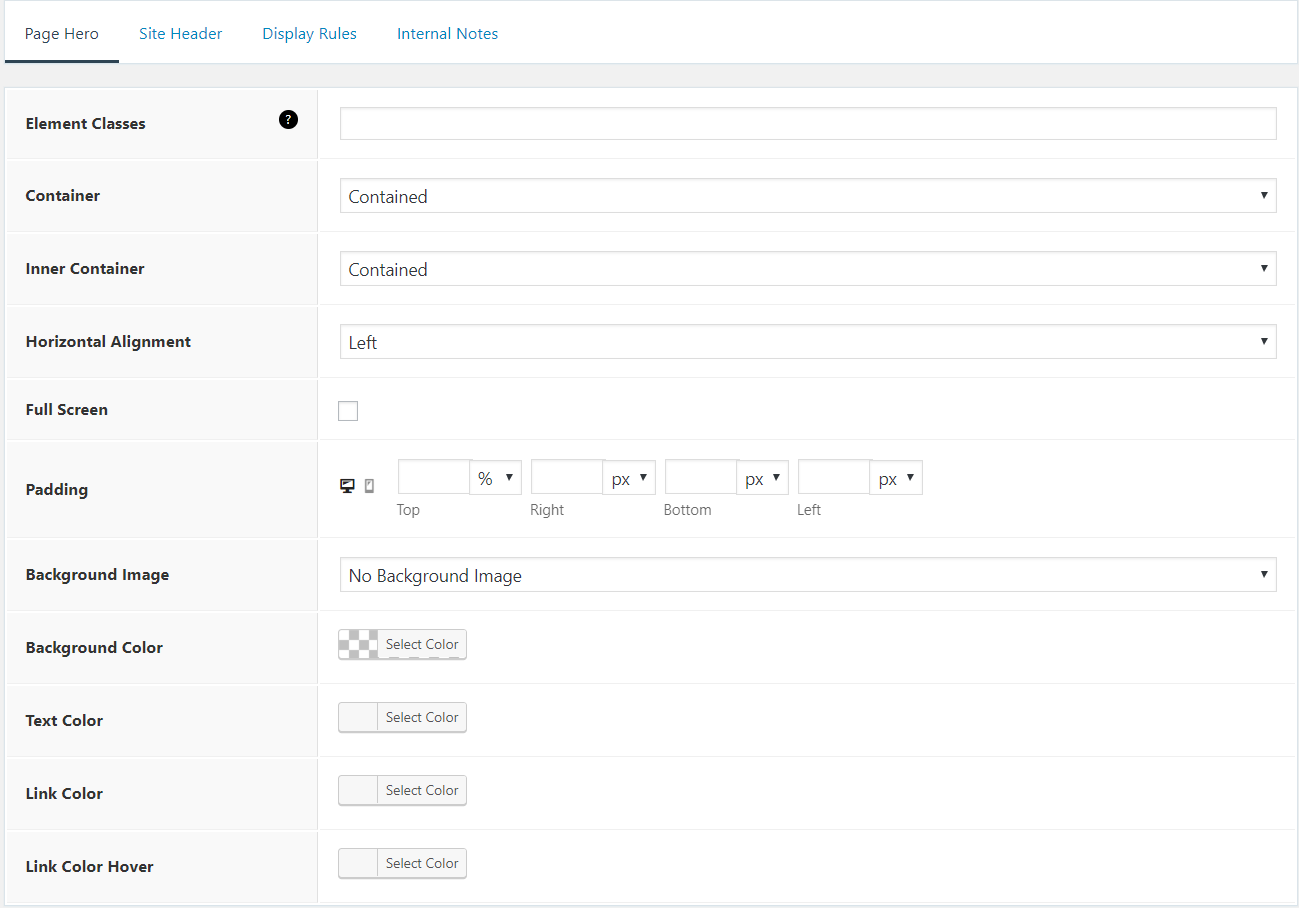
Element Classes
Add custom classes to the header element.
Container
The container option is what the page hero background image or color is applied to.
Full: The page hero will span the entire width of the screen.

Contained: The page hero will be the same width as the container.
Inner Container
This option refers to the inner container which holds the page hero content.
Full: The content will span the entire width of the screen.
Contained: The content will be the same width as the container.

Horizontal Alignment
Choose the horizontal alignment of the page hero content.
Full Screen
This option will force the page hero to take up the entire viewport of your page.
Note: Requires Merge to be selected in Site Header tab.
Padding

Add padding to the page hero content.
The height of the page hero is determined by the top and bottom padding.
Use the toggle to set different padding for desktop and mobile.
Background Image
Add background image to the page hero content.
Featured Image – Use the Featured Image added in the pages or posts as the background image. You can also select a fallback image to show when no featured image is added in the individual page or post.
Custom Image – Upload a custom image for this specific page hero.
Background Image Position
Set the position of the background image.
Note: Requires Featured Image or Custom Image to be selected.
Parallax
Enabling this option will apply a parallax effect (moves as you scroll) to the background image.
Note: Requires Featured Image or Custom Image to be selected.
Disable Featured Image
Disable the featured image on posts with this page hero.
Note: Requires Featured Image or Custom Image to be selected.
Background Overlay
Use the background color as a background overlay.
Note: Requires Featured Image or Custom Image to be selected.
Colors
Set the background, color and link colors for the page hero content.
Site Header

Merge with Content
Place your site header on top of the content below it. See more info here and some examples here.
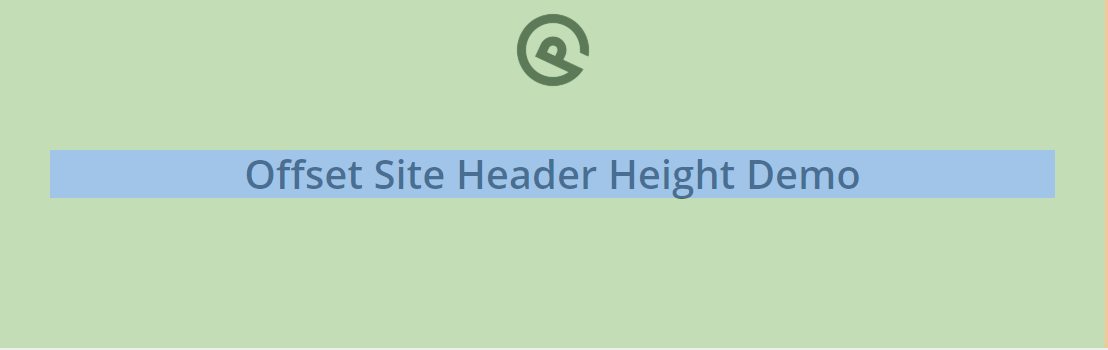
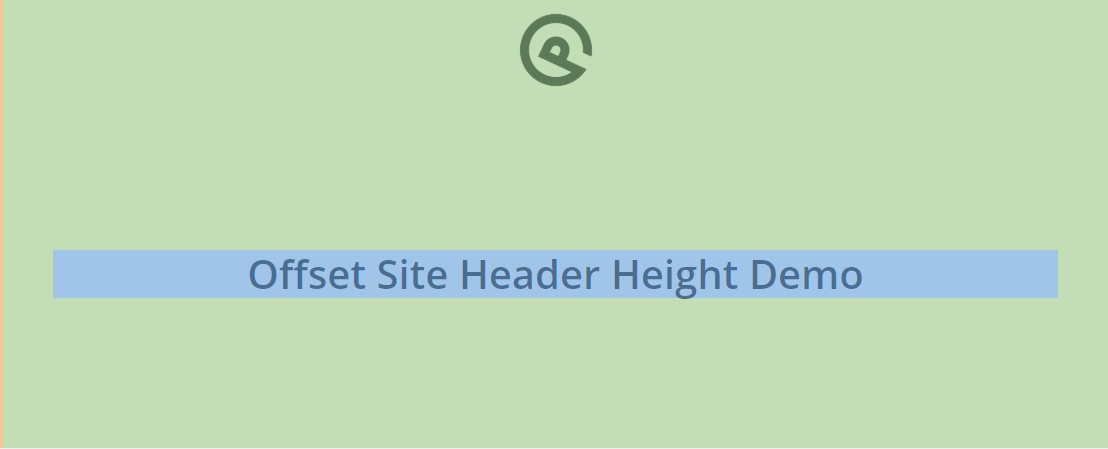
Offset Site Header Height
Add to the top padding of the page hero to prevent overlapping.
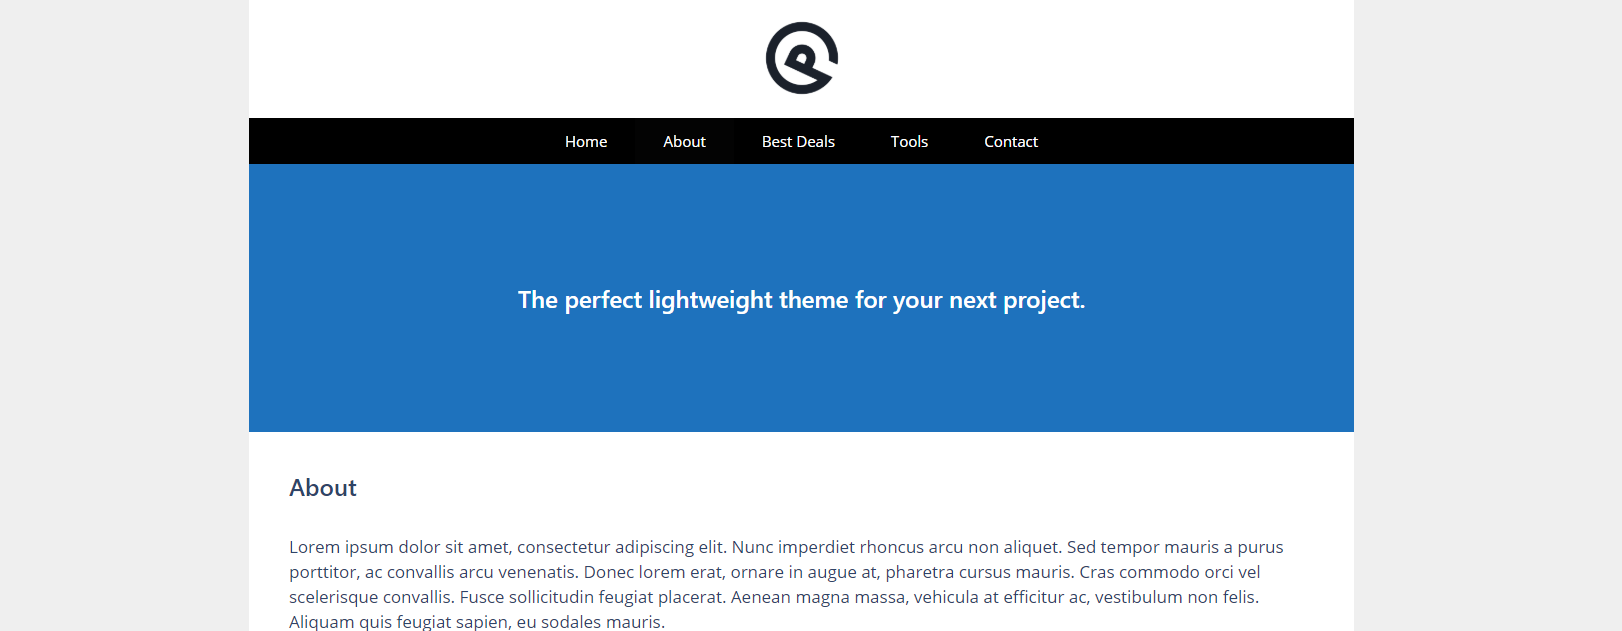
Without offset:
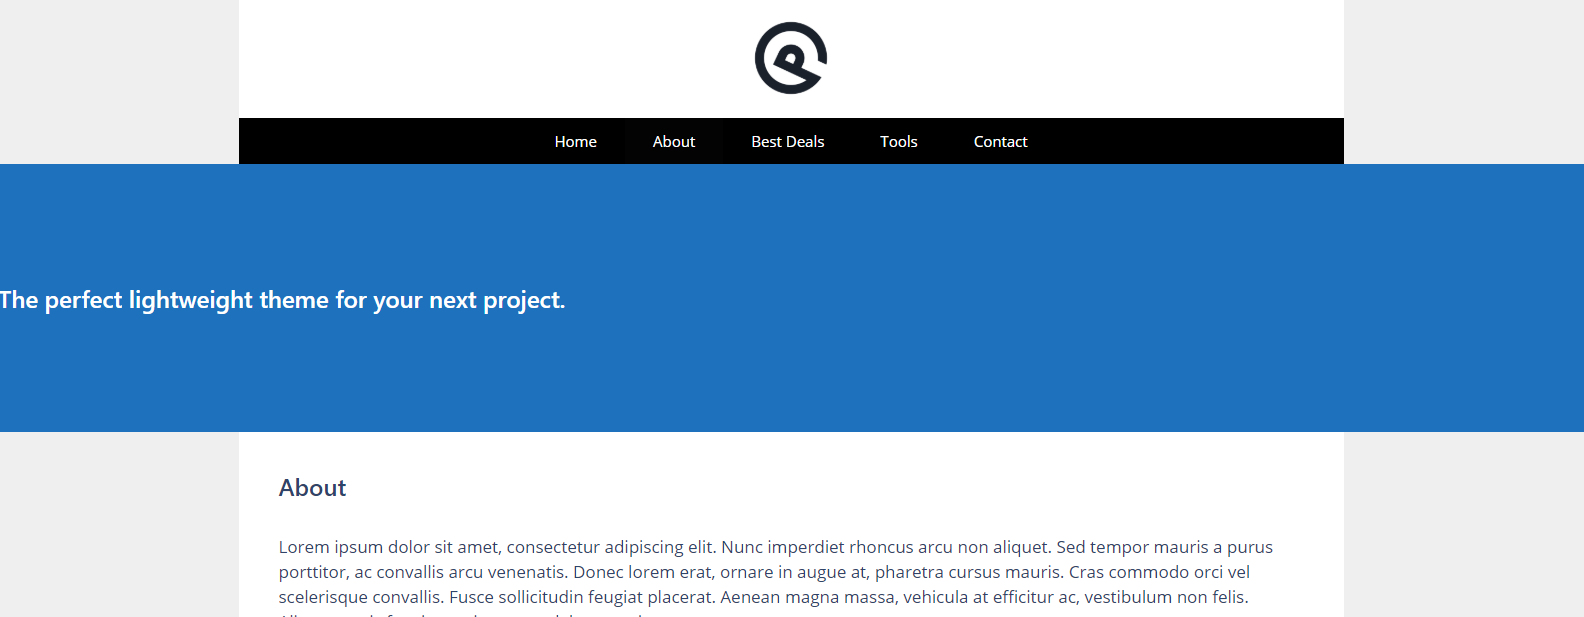
With 100px (header height) offset:
Header Background
Apply a specific header background color to go with this page hero. This would replace the header background color set in the customizer.
Site Logo
Apply a specific logo to go with this page hero. This is especially useful if Merge with Content option is enabled. See an example here.
Note: Requires an existing logo uploaded in Site Logo.
Navigation Logo
Apply a specific navigation logo to go with this page hero. This is especially useful if Merge with Content option is enabled. See an example here.
Note: Requires an existing logo uploaded in Navigation Logo.
Navigation Location
Use a specific navigation location for this page hero. This would replace the global navigation location set in the customizer.
Navigation Colors
Apply specific navigation colors for this page hero. This would replace the navigation colors set in the customizer. See an example here.
The sticky navigation colors will still inherit the global
navigation colors settings in the customizer.
Display Rules
In order for your element to display anywhere on your website, you must set certain conditions within the Display Rules tab.
These settings allow you to display your element throughout your site. You can choose specific pages, posts, categories etc.. You can even tell the element to display across your entire site.
You can also exclude the element using the same conditions. For example, you can tell your element to display throughout your entire site, excluding the About page.
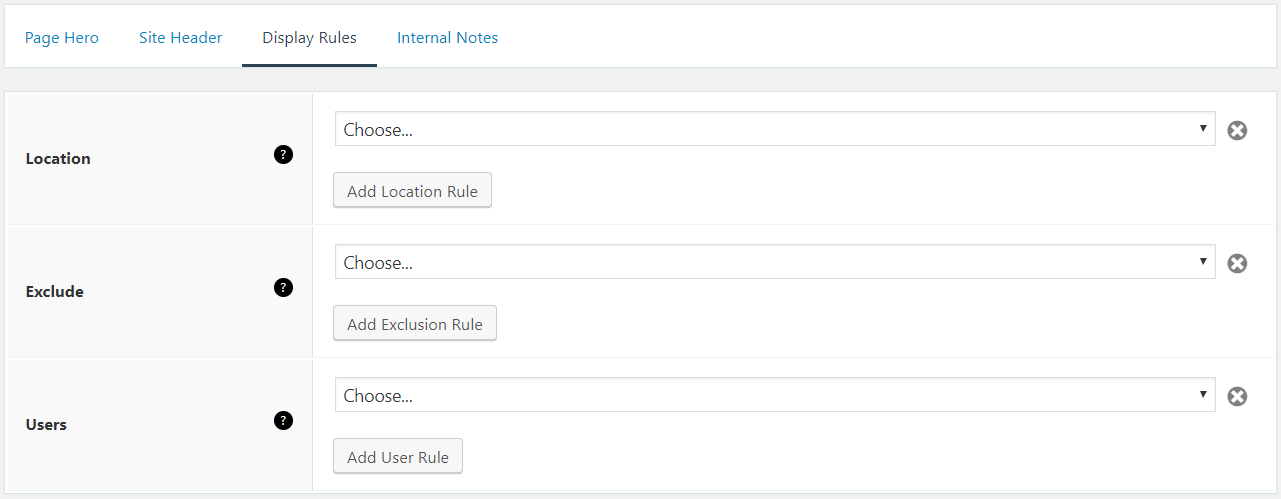
Location (required) – Choose when this element should display.
Exclude (optional) – Choose when this element should not display.
Users (optional) – Display element for specific user roles.
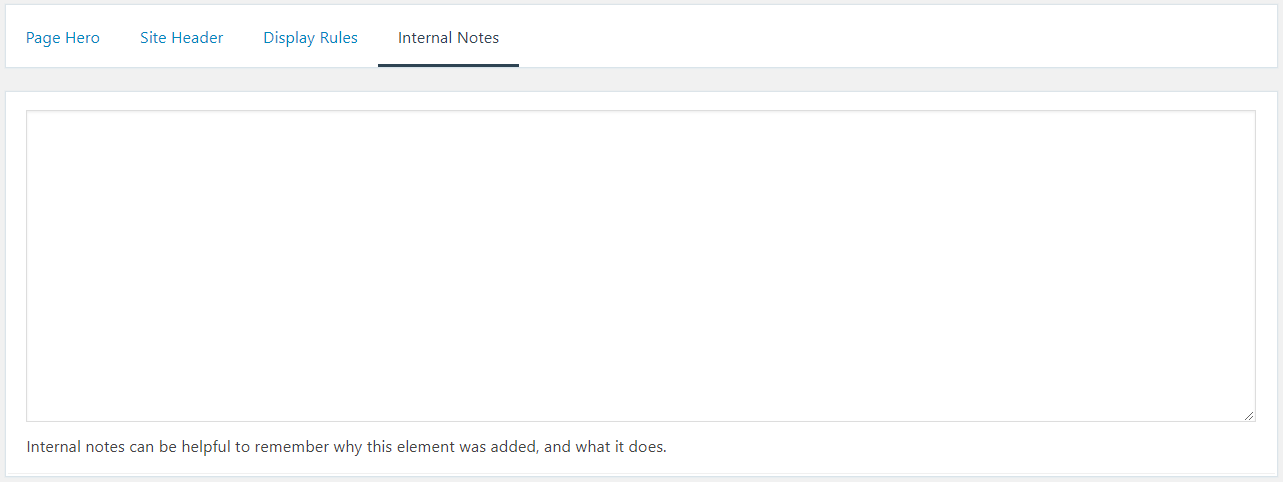
Internal Notes
This tab an optional tab. The content here will not show up at the front end. It is used to help you remember why this element was added.