The Header element module is one of the most popular features of GP Premium and the amount of options available can definitely be overwhelming at the beginning. If you are struggling to make a page hero, the following steps should provide a quick guideline on how to get started.
For detailed explanation of each option, please see this article.
For examples of page heros, please see this article.
Step 1: Add the Content
First, decide whether if you want some content in the page hero or not.
If you only want to use the background image without adding any content, simply add some HTML comments:
<!--This is a comment-->If you do wish to add some content, the content box accepts any HTML (headings, paragraphs etc.), shortcodes (slider, contact forms etc.)
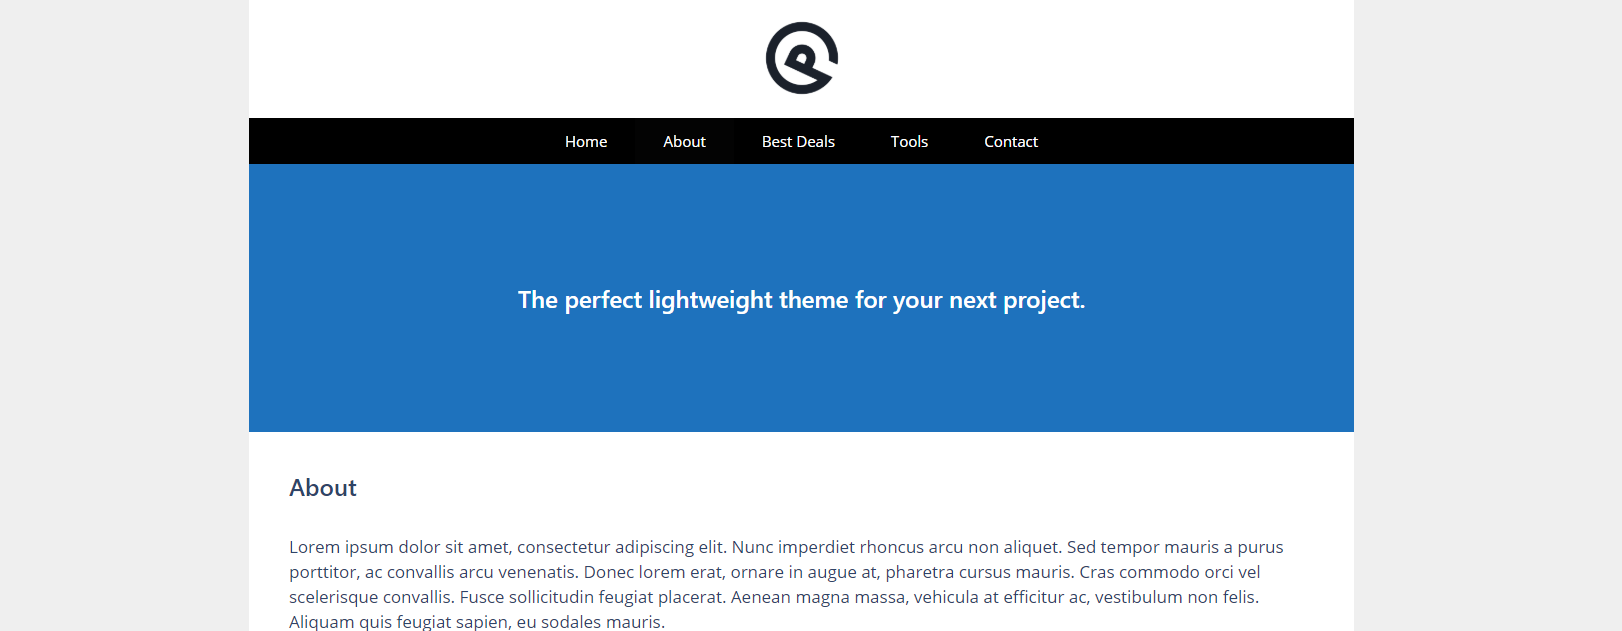
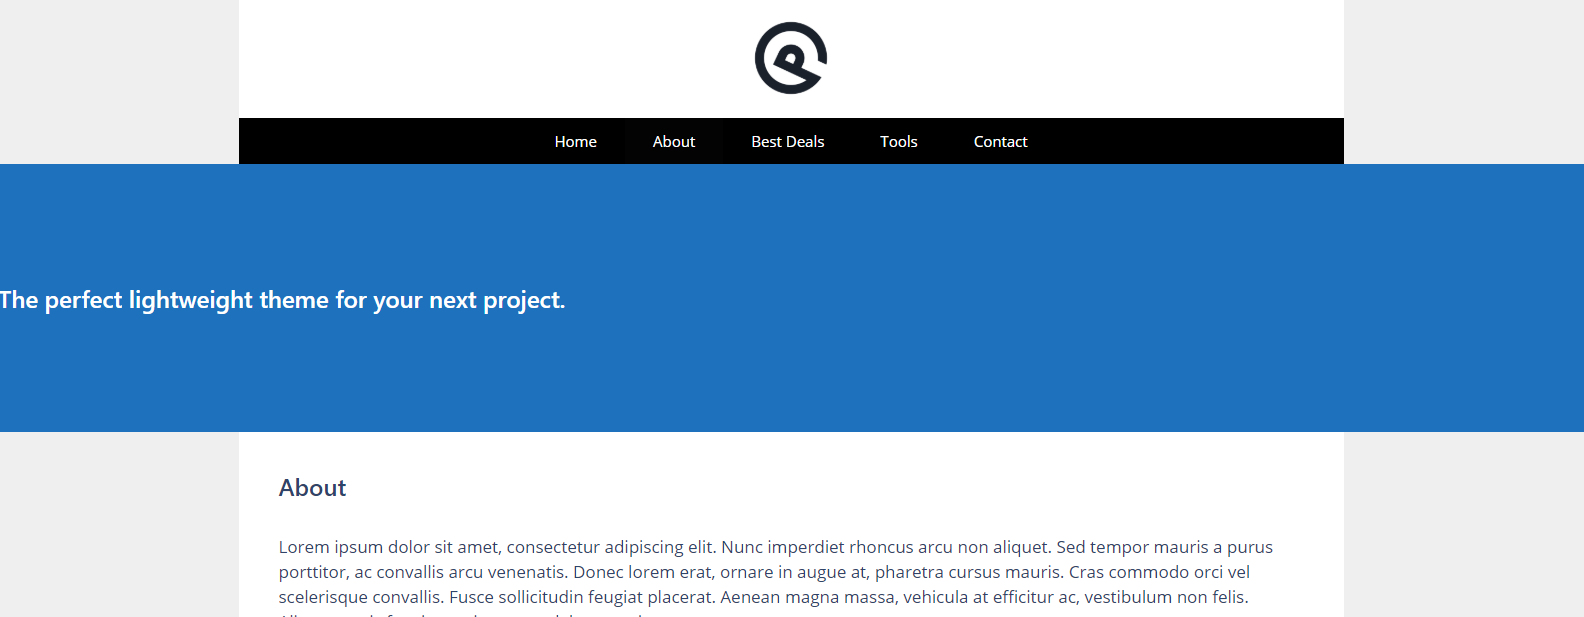
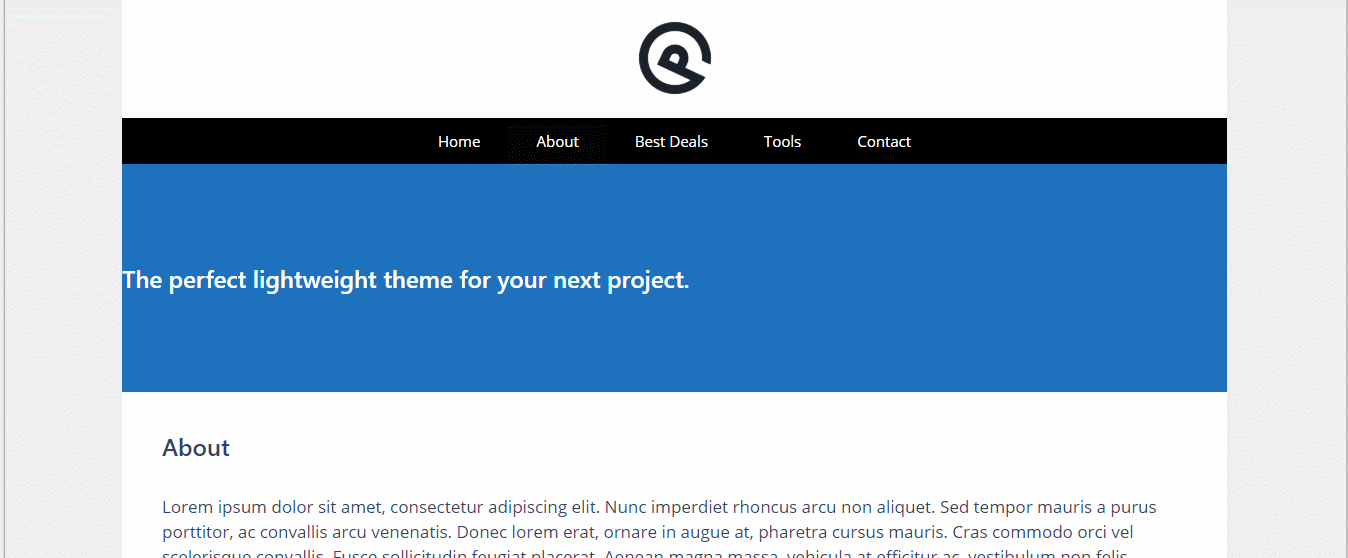
A common example for the front page would be a catch phrase to capture your audience:
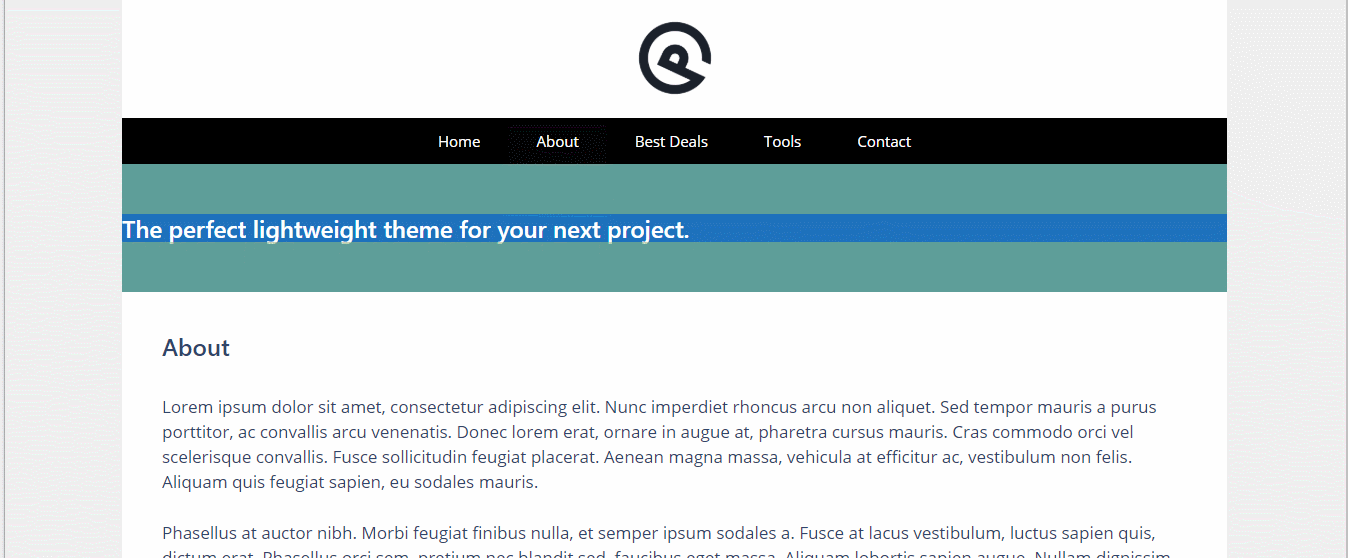
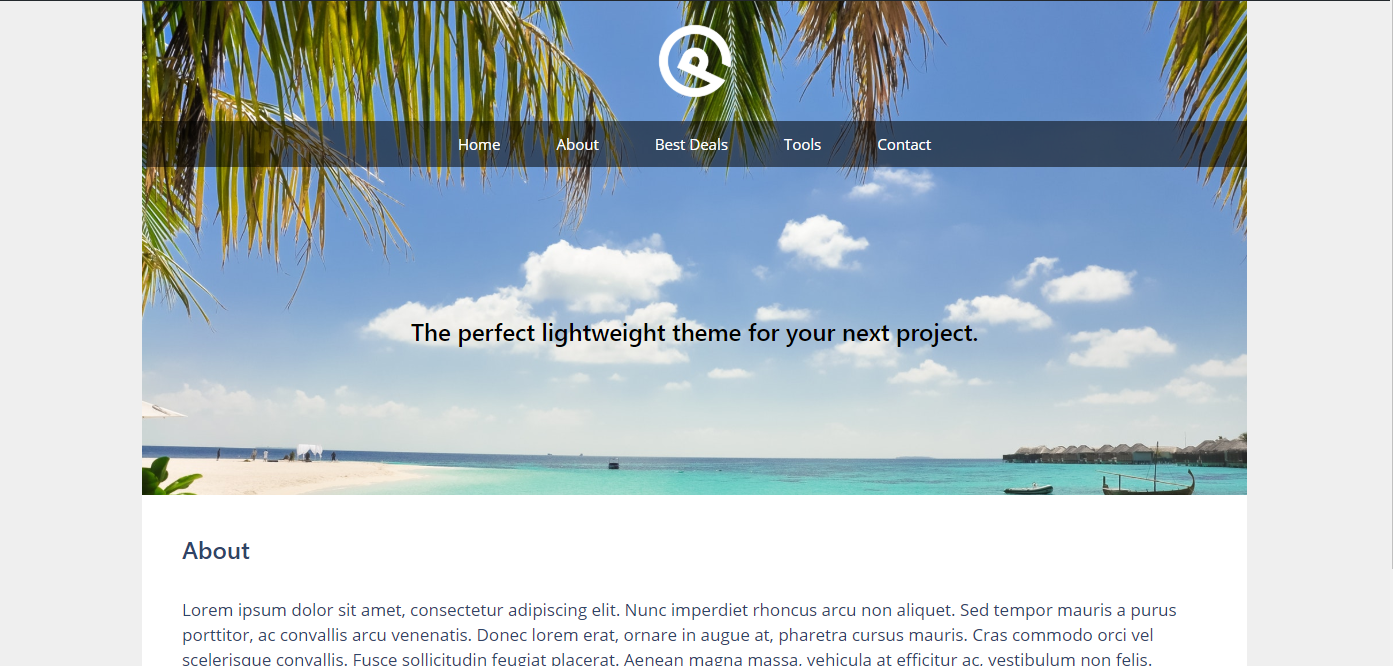
<h1>The perfect lightweight theme for your next project.</h1>For posts and pages, you can take advantage of our template tags to output the things like post title and entry meta:
<h1>{{post_title}}</h1>
{{post_author}} {{post_date}}
You can then use the color options to set the text, link and link hover colors of your content.
Step 2: Choose a Background
There are basically 3 choices for the background:
Solid Color: If you only want a solid color behind your content like this example, simply select the desired color in the background color option.
Featured Image: This option uses the Featured Image added in the pages or posts as the background image. A very common choice the page hero of posts.
Custom Image: This option allows you to upload a custom image specific for this page hero.
If you choose either the Featured Image or Custom Image option above, you will see the following additional options:
Step 3: Set the Width
The width property of the page hero is determined by the Container and Inner Container options.
Container
Full: The page hero will span the entire width of the screen.

Contained: The page hero will be the same width as the container.
Inner Container
Full: The content will span the entire width of the screen.
Contained: The content will be the same width as the container.

Step 4: Set the Height
The height property of the page hero, or how much the background or background image shows, is determined by the top and bottom padding options.
Step 5: Position the Content
The horizontal position of the page hero content is determined by the horizontal alignment option:
The horizontal position can also be fine tuned by using the left and right padding options:

Similarly, the vertical position can be fine tuned by using the top and bottom padding option:
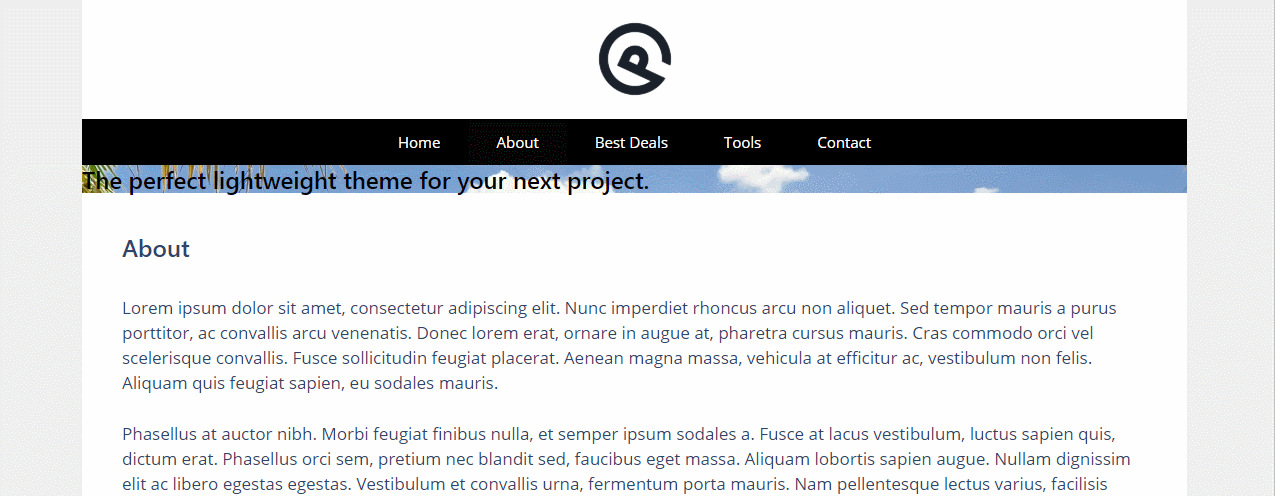
Optional Step: Merge with Site Header
If you wish to merge the page hero with the site header and navigation like this:
Head to the Site Header tab of the Header element and select either Merge or Merge on Desktop Only. Then the additional options will appear for further customization:
- Full Screen
- Offset Site Header Height
- Header Background
- Site Logo
- Navigation Logo
- Navigation Location
- Navigation Colors