Starting in GP Premium 1.7, the Hook element replaces the GP Hooks module.
This element allows you to insert content into any available hook on your website. There’s a list of available GP and GP Premium hooks, and there’s a custom hook option that allows you to define your own hook name if it doesn’t exist in the dropdown.
The usage of each hook is reference and explained in this list.
The location of the hooks are shown in our visual hook guide.
To create a new Hook Element, go to Appearance > Elements and click “Add New”. From the Element dropdown list, choose “Hook”.
Settings
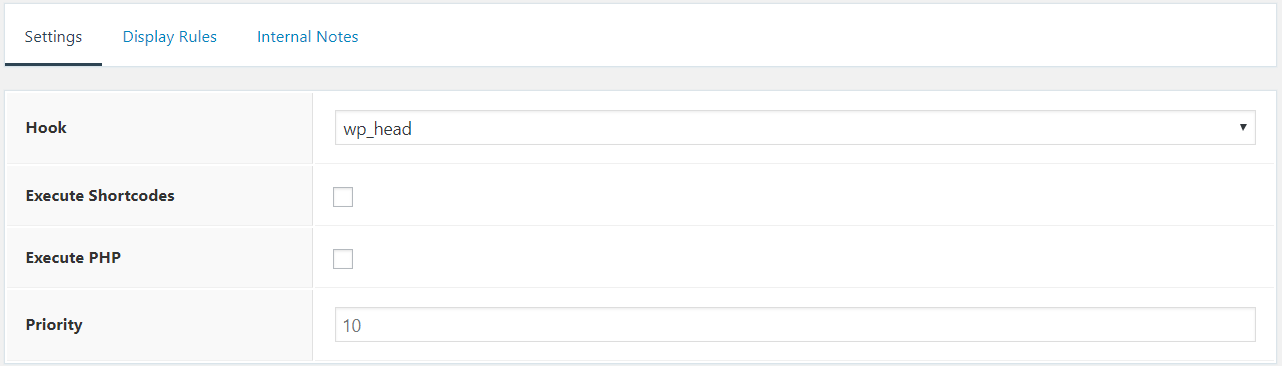
Hook (Required) – Choose the hook where you want to insert the content.
Execute Shortcodes (optional) – Check to execute shortcodes in hook.
Execute PHP (optional) – Check to execute PHP snippets in hook.
Note: If you have DISALLOW_FILE_EDIT enabled then this won’t be usable. Some security plugins will add this by default.
Priority (optional) – Set the priority of this element. This is useful when there are multiple elements added to the same hook.
Display Rules
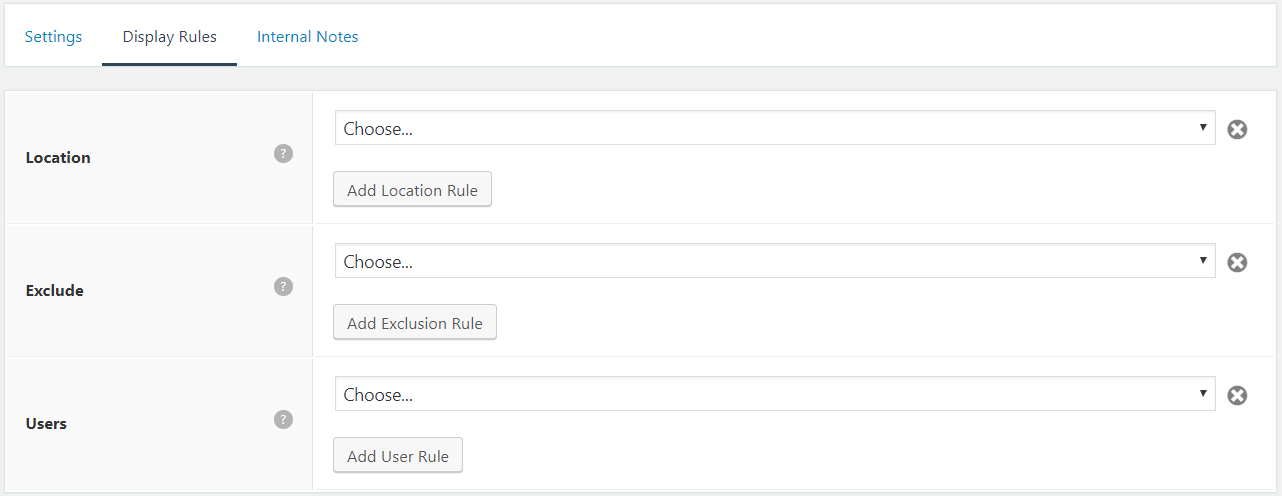
In order for your element to display anywhere on your website, you must set certain conditions within the Display Rules tab.
These settings allow you to display your element throughout your site. You can choose specific pages, posts, categories etc.. You can even tell the element to display across your entire site.
You can also exclude the element using the same conditions. For example, you can tell your element to display throughout your entire site, excluding the About page.
Location (required) – Choose when this element should display.
Exclude (optional) – Choose when this element should not display.
Users (optional) – Display element for specific user roles.
Internal Notes
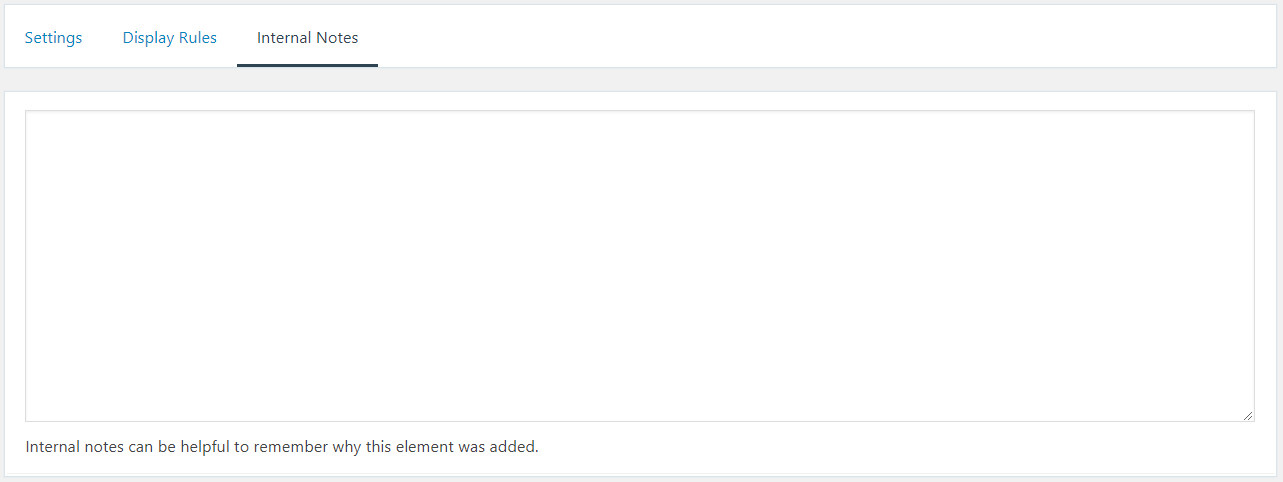
This tab an optional tab. The content here will not show up at the front end. It is used to help you remember why this hook was added.