You can upload an image inside your header, typically referred to as a logo or header by going to “Appearance > Customize > Site Identity”.
Then upload your header/logo using the Logo control.
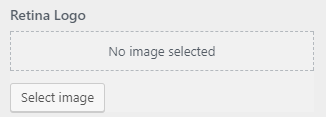
If you have a regular logo uploaded, you’ll see an option to upload a retina logo. This method uses srcset to show your retina logo on screens that support it.
Starting in GeneratePress 2.2, you can also set the width of the logo using the slider.
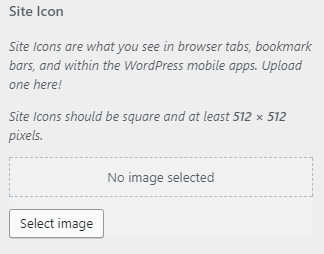
You also have the option to add the site icon. Site Icons are what you see in browser tabs, bookmark bars, and within the WordPress mobile apps.
Changing the logo under specific conditions
In some cases, you might need to upload a different logo on a specific page/template. This option is built into our Page Header meta box, but can be changed using a filter as well.
For example, if we wanted a different logo on our About page, with about as our URL slug:
add_filter( 'generate_logo','tu_custom_about_logo' );
function tu_custom_about_logo( $logo )
{
 	// If we are on the about page, set our custom logo
 	if ( is_page( 'about' ) )
 	 	return 'URL TO OUR LOGO IN HERE';

 	// Or else, set the regular logo
 	return $logo;

 }
You can use any of the available WordPress conditionals to determine your sidebar layout.
Learn how to add PHP here.