If you are using the block editor then please use Block Element – Page Hero.
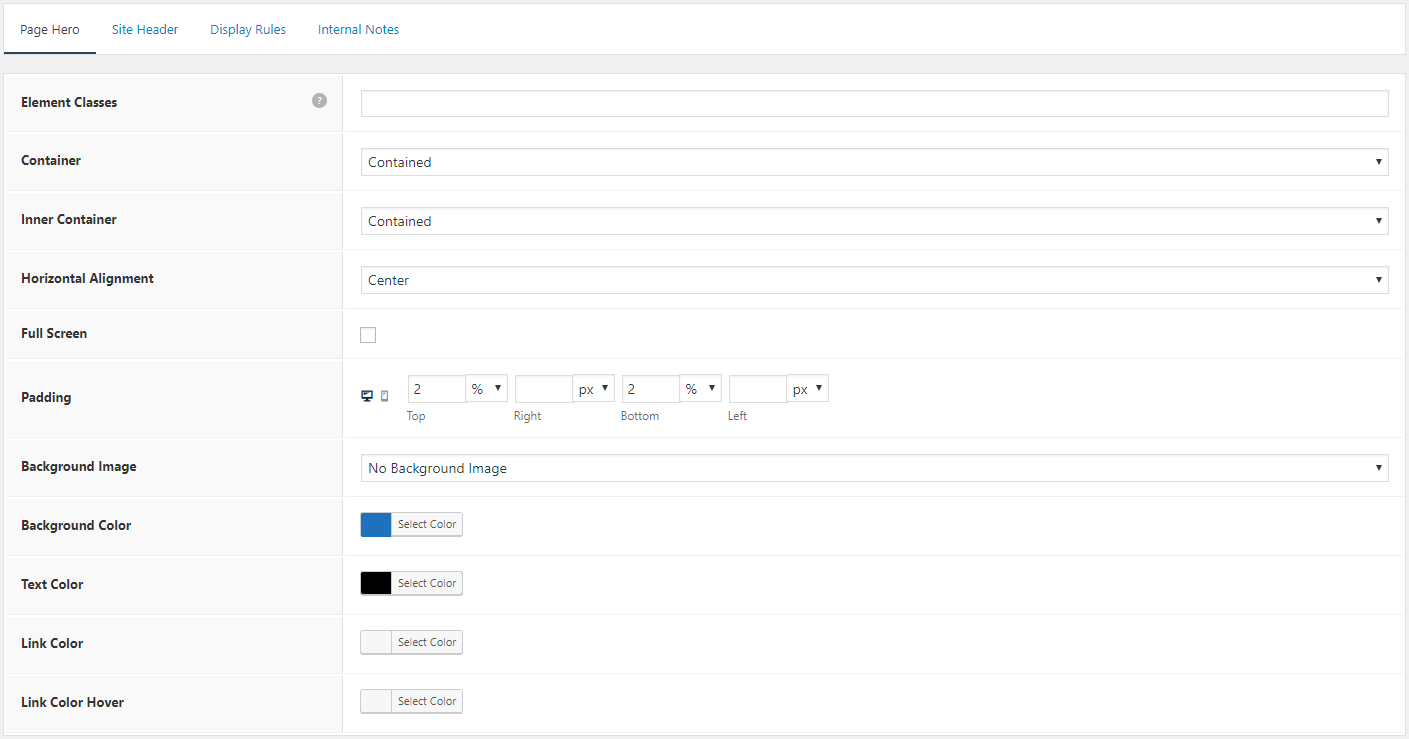
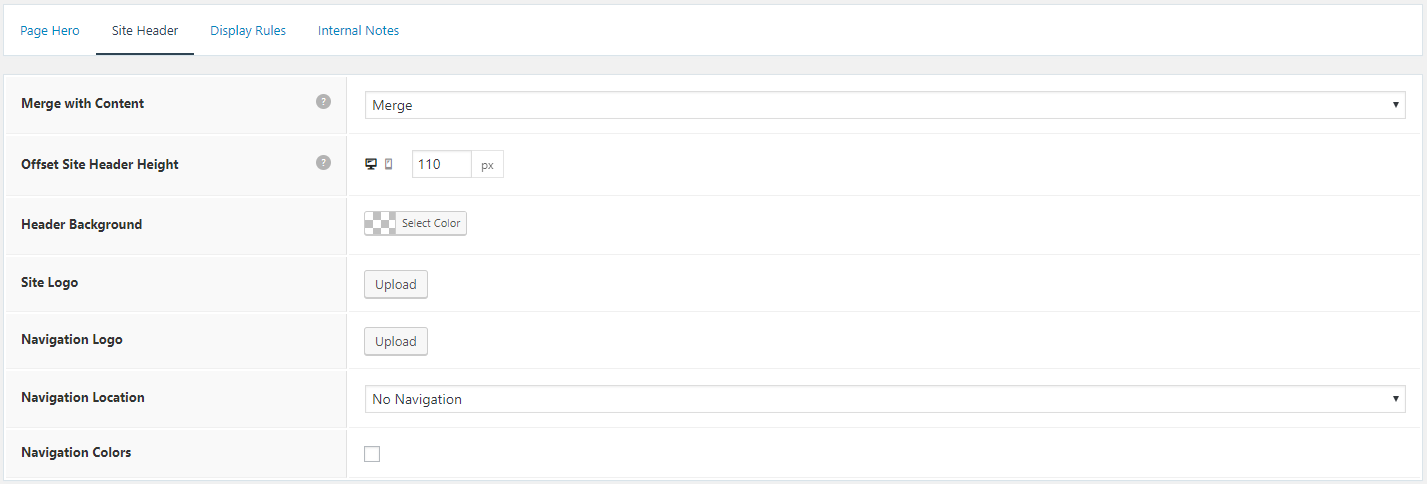
The Page Hero feature in our Header Elements is one of the most popular features in GP Premium. The examples below should demonstrate the options available and provide some popular styles that are ready to use.
For detailed explanation of each option, please see this article.
For a step by step guideline of creating a page hero, please see this article.
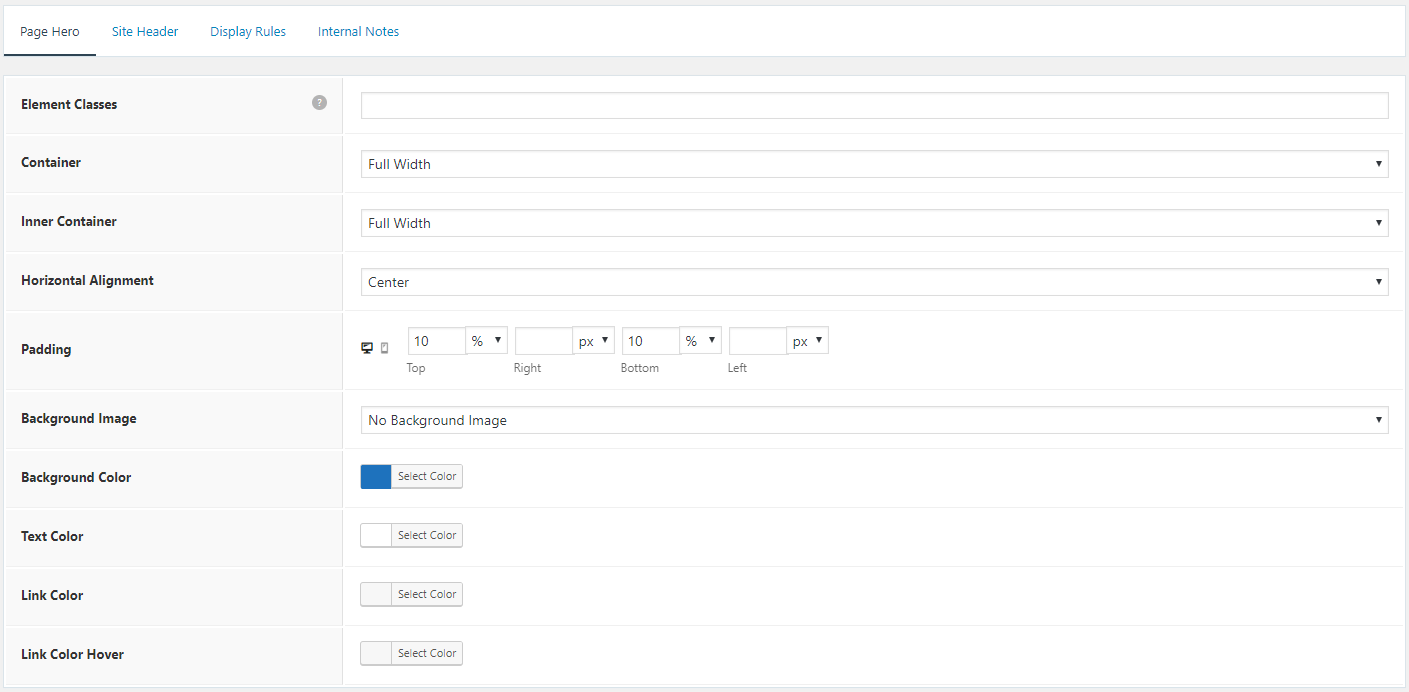
Example 1

Content:
<h1>Reach the peak</h1>
<p><a class="button" href="#">Call to Action</a></p>
Options:
CSS:
The CSS snippet below is for adding border on buttons.
a.button,
a.button:visited,
button,
input[type="submit"] {
border-width: 1px;
border-style: solid;
border-color: inherit;
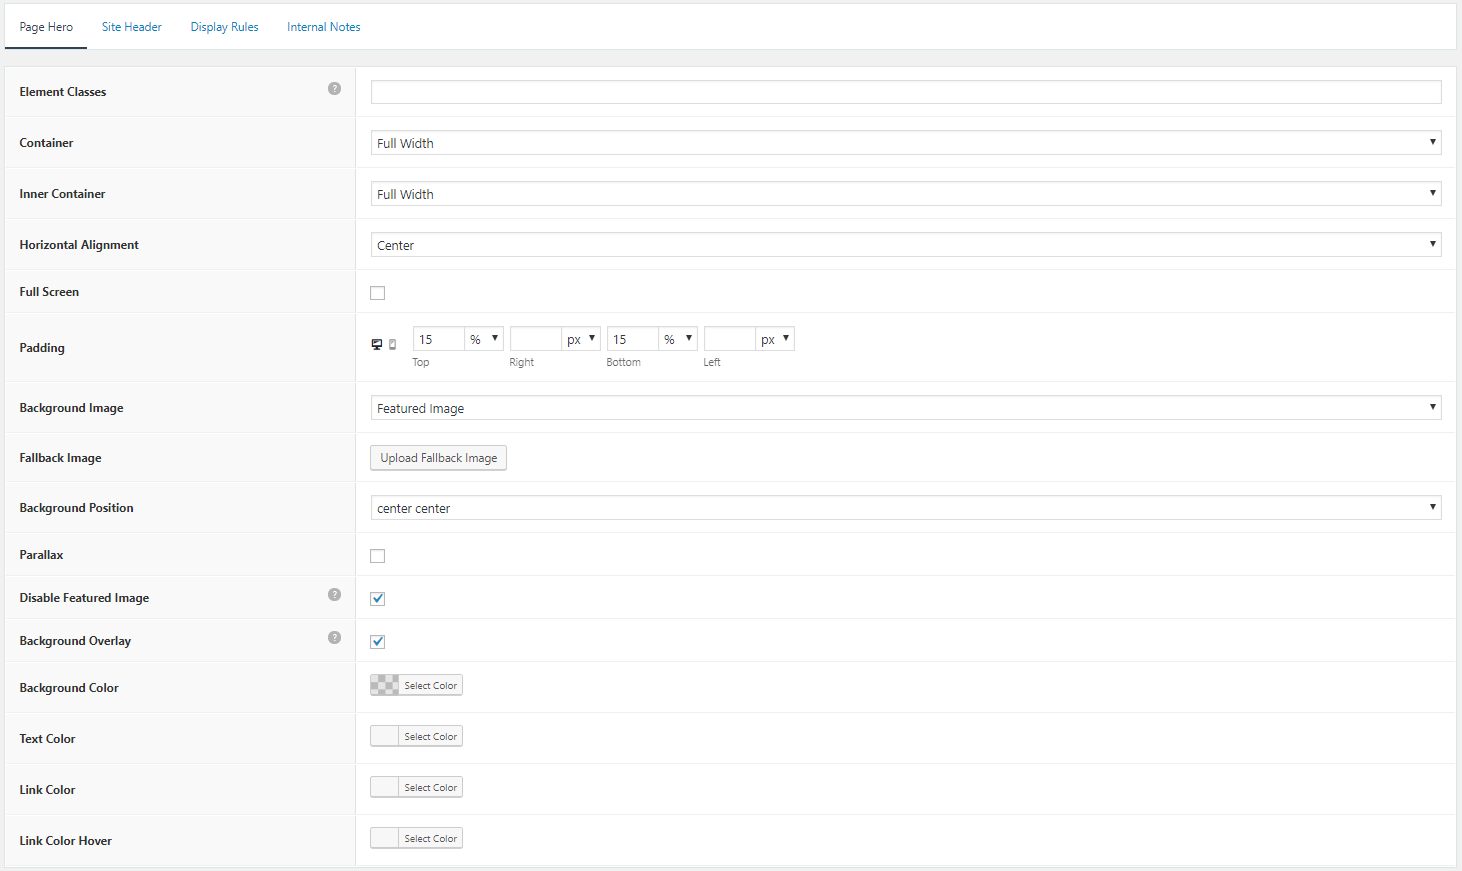
}Example 2

Content:
<h1>{{post_title}}</h1>
[page_hero_gravatar] {{post_author}} {{post_date}}
Options:
PHP:
The PHP snippet below is for creating the [page_hero_gravatar] shortcode.
function lh_page_hero_gravatar() {
    ob_start();
    global $post;
    $author_id = $post->post_author;
    ?>
    <div class="page-hero-gravatar">
        <?php echo get_avatar( $author_id ); ?>
    </div>
    <?php
    return ob_get_clean();
}
add_shortcode( 'page_hero_gravatar', 'lh_page_hero_gravatar' );
CSS:
The CSS snippet below is for styling the author image and entry meta.
.page-hero-gravatar img {
width: 40px;
height: 40px;
border-radius: 50%;
position: relative;
vertical-align: middle;
margin: 0 10px 0 0;
}
.page-hero .author, .page-hero-gravatar {
display: inline-block;
}
.page-hero .entry-date {
border-left: 2px solid #fff;
padding-left: 10px;
margin-left: 10px;
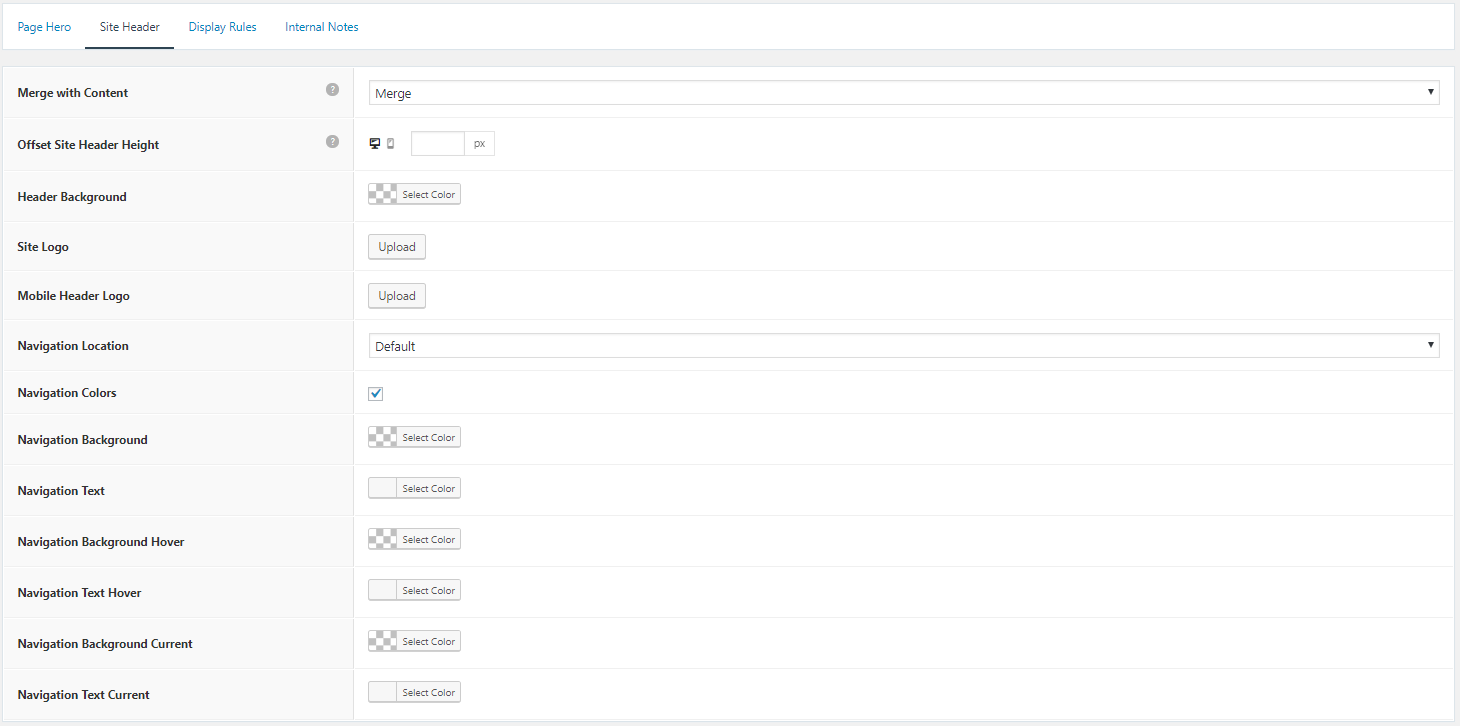
}Example 3

Content:
<div class="page-hero-content">
  <h1>Lorem ipsum dolor sit amet</h1>
  <h2>commodo consequat. Duis aute irure dolor in reprehenderit in voluptate velit esse cillum dolore eu fugiat nulla pariatur. Excepteur sint occaecat cupidatat non proident</h2>
  <div class="page-hero-buttons">
    <a class="button">Button 1</a>
    <a class="button">Button 2</a>
  </div>
</div>
Options:

CSS:
The CSS snippet below is for styling the content box and bottons.1-
.page-hero-content {
padding: 20px;
border: 5px solid rgba(211,211,35,0.2);
border-radius: 10px;
max-width: 700px;
}
@media (max-width: 1200px) {
.page-hero-content {
padding: 10px;
margin: auto;
}
}
.inside-page-hero {
display: -ms-grid;
display: grid;
grid-template-areas: "left right";
-ms-grid-columns: 50% 50%;
grid-template-columns: 50% 50%;
}
.page-hero-content {
-ms-grid-row: 1;
-ms-grid-column: 2;
grid-area: right;
}
@media (max-width: 768px) {
.inside-page-hero {
display: block;
}
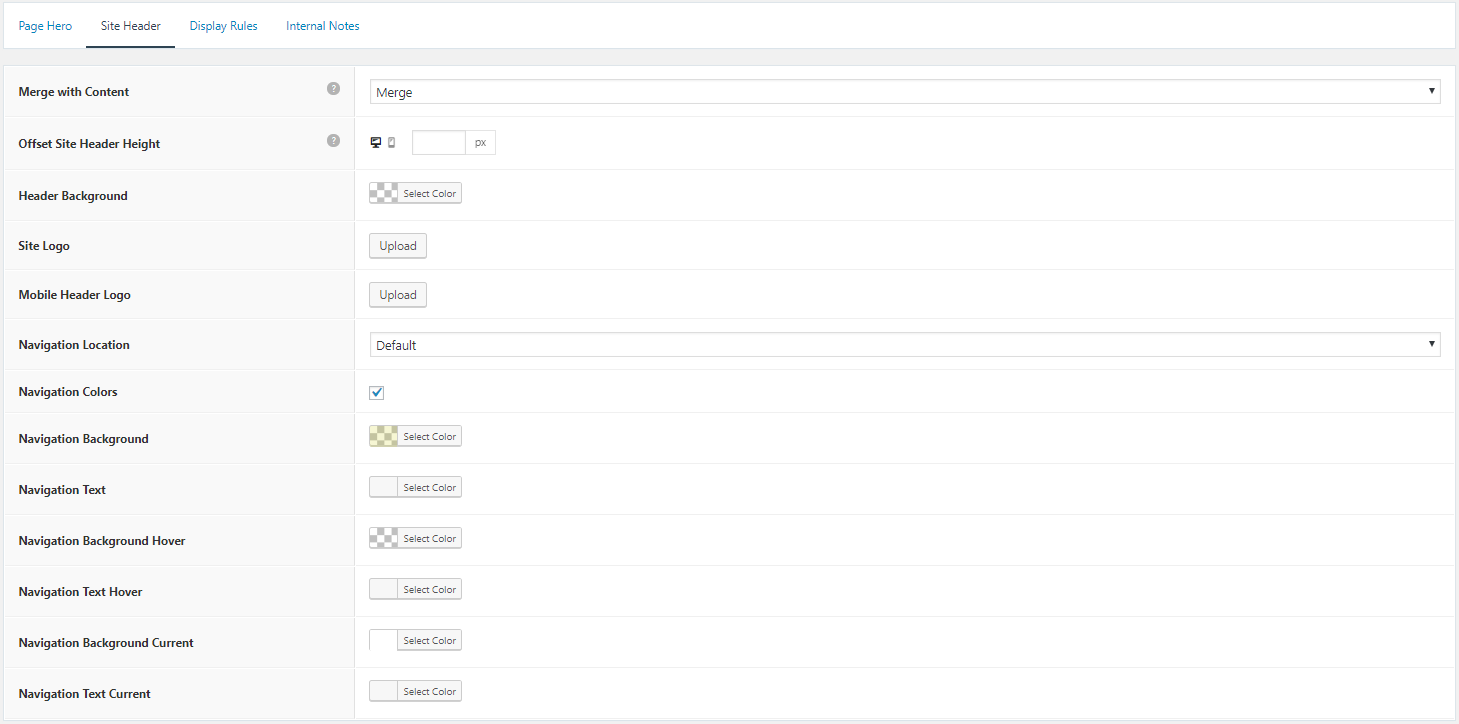
}Example 4

Content:
<h1>{{post_title}}</h1>
[page_hero_excerpt]
Options:
PHP:
The PHP snippet below is for creating the [page_hero_excerpt] shortcode.
function db_page_hero_excerpt() {
    ob_start();
    global $post;
    if ( has_excerpt( $post->ID ) ) {
    ?>
    <div class="page-hero-excerpt">
        <?php echo the_excerpt(); ?>
    </div>
    <?php
    }
    return ob_get_clean();
}
add_shortcode( 'page_hero_excerpt','db_page_hero_excerpt' );
CSS:
The CSS snippet below is for styling custom excerpt.
.page-hero-excerpt {
    border-top: 2px solid #fff;
    border-bottom: 2px solid #fff;
}
.page-hero-excerpt p {
    color: #ffffff;
    margin-bottom:0;
}